
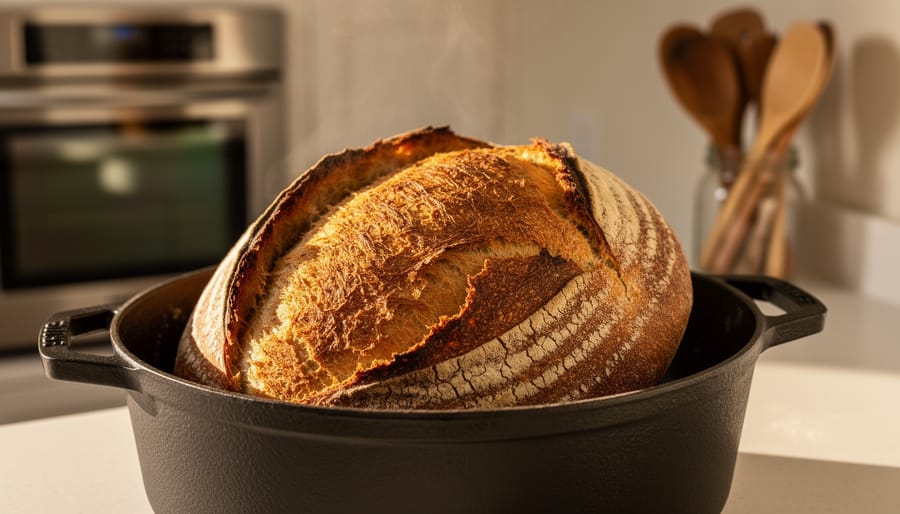
A cast iron Dutch oven turns a home oven into a small bread bakery. Preheat the pot, load in your shaped sourdough, and bake it covered at 450°F for 25 to 30 minutes, then uncovered for another 25 to 30 minutes. The loaf is done when the crust is deeply golden and the inside reads 205 to 210°F. That’s the whole method, and it works because the heavy lid traps steam in the first half of the bake, letting the loaf spring upward before the crust sets.
Think of the sound a good loaf makes when it comes out of the pot: the faint crackle as it cools, the smell of toasted wheat and tang filling the kitchen. It’s the same pleasure you get from walking into a great Vancouver bakery early in the morning, except you’ve made it yourself, in your own oven, with one pot and a little patience.
Some bakers prefer a hotter start at 475°F, finishing uncovered for 20 to 25 minutes. Either path leads to a blistered, crackling crust and a tender, open crumb. Below, we’ll walk through the equipment, the safety points that matter with a screaming-hot pot, the steps in order, and the simple checks that tell you your pane is truly ready.
Why a Cast Iron Dutch Oven Gives Sourdough a Bakery-Style Crust
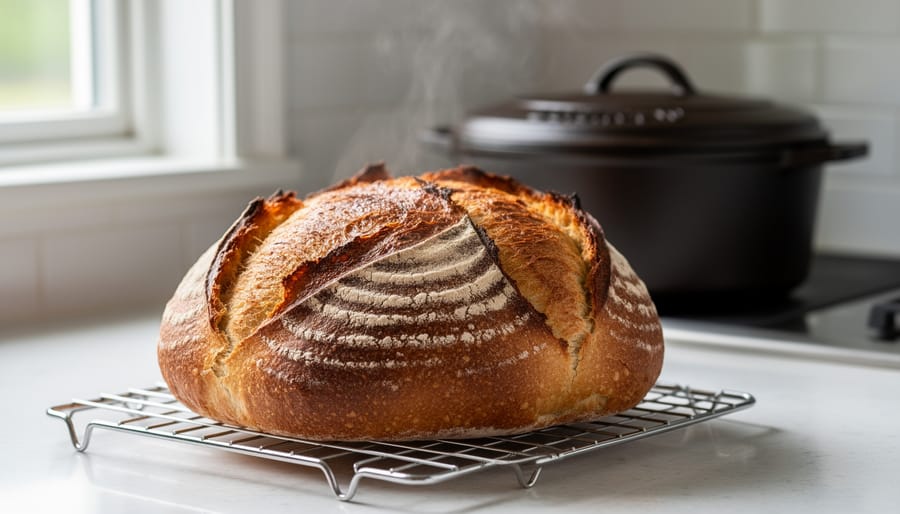
Picture a cast iron Dutch oven as a tiny, fiercely hot oven inside your oven. Its thick walls soak up heat and hold it steady, so the dough meets a blast of warmth the moment it lands in the pot. That sudden heat gives the loaf a strong, lively rise.
The lid is where the real magic happens. A sourdough loaf is full of moisture, and as it bakes, that moisture turns to steam. Inside the covered pot, the steam has nowhere to go, so it wraps around the loaf and keeps the outside soft and stretchy. The dough can puff up fully before the crust sets, which is how you get that tall, open shape instead of a squat, dense one.
Then comes the part you can hear. Once the lid comes off, the dry heat takes over. The surface browns, deepens in colour, and tightens into a glossy, crackly shell that sings softly as it cools on the rack.
It’s the same kind of rustic crust you’ll find on a traditional Italian country loaf, the sort meant for dragging through green olive oil or tearing beside a steaming bowl of soup. It’s the kind of bread the Italian nonnas would set in the middle of the table without a second thought.
That one-two rhythm of steamy first, dry heat second is the whole secret behind a bakery-style loaf from your own kitchen.
Tools and Ingredients You Need Before You Start
Before you light the oven, lay everything out on the counter. Sourdough moves quickly once the pot is hot, and you don’t want to be hunting for mitts while a 450°F cast iron lid waits. Think of it like setting the table before the pasta hits the water.
- Cast iron Dutch oven with a lid: it holds heat and traps the steam the dough releases, which gives you that blistered, crackly crust.
- A sharp blade or lame: a clean score lets the loaf expand where you want it to.
- Parchment paper: cut a sling and you can lower the dough into the hot pot without touching the sides.
- Thick oven mitts: the handle and lid knob get as hot as the pot itself.
- Instant-read thermometer: it tells you when the inside reaches 205-210°F, so you’re not guessing by colour alone.
- Cooling rack: air circulating underneath keeps the bottom crust crisp while the crumb sets.
Then there’s the dough itself. This guide uses a proofed, shaped loaf of about 500g as the reference size, so the timings that follow assume something close to that.
I’m not going to hand you a single dough formula here, because hydration and starter type vary a lot from one recipe and one baker to the next. What matters is the method for baking it. Use your own active, bubbly starter and a trusted dough you’ve already mixed, folded, and proofed, and let this guide take over from the moment it goes into the pot.
If you can, choose fresh, locally sourced flour. A good flour makes the loaf taste of something, with a sweetness and depth that no technique can fake. It’s the same flavour-first thinking behind every great Italian table.
Safety First: Handling a Screaming-Hot Pot
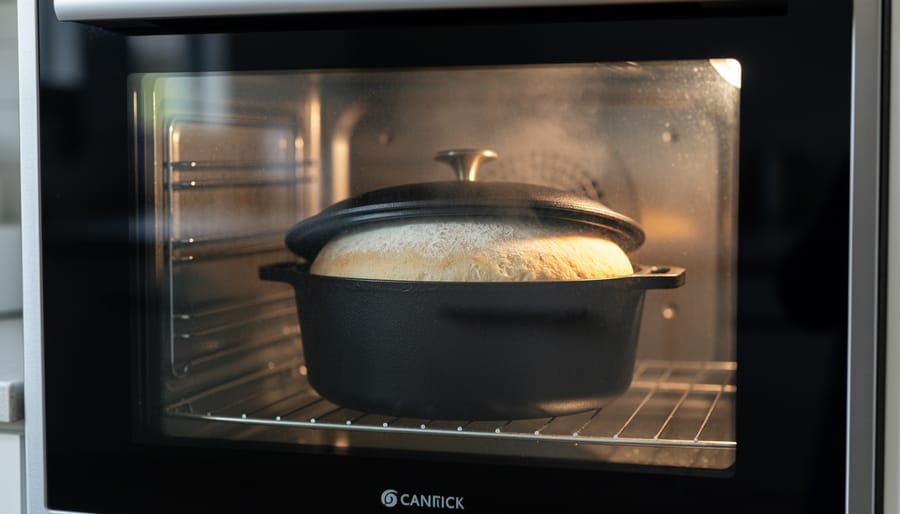
A Dutch oven preheated for a sourdough loaf is a screaming-hot piece of cast iron, and it deserves real respect. Before you lift the dough, set out thick oven mitts and clear a heatproof spot on the stovetop or a trivet. Never touch the pot, the lid, or the handles bare-handed, and remember the lid knob gets exactly as hot as the pot itself.
When it’s time to bake, use a parchment sling to lower the dough gently into the pot rather than dropping it in. Keep children and pets out of the kitchen while the pot is out of the oven, since a curious step at the wrong moment can mean a serious burn. When you lift the lid partway through the bake, tilt it away from your body and let the steam escape before you lean in.
Pause and reassess if something looks off:
– The pot has a crack anywhere on the body or lid.
– The dough sticks and starts to tear as you lower it.
– Smoke turns heavy rather than a light wisp.
If any of these happen, turn off the heat, step back, and take a breath before deciding what to do next. A loaf is never worth an injury.
Once the bread is out, leave the pot to cool completely on a safe surface. Washing hot cast iron can shock the metal, so wait until it’s cool to the touch before you clean it.
Step-by-Step: Baking Your Sourdough in the Dutch Oven
Preheating and Scoring: Setting Up for a Great Rise
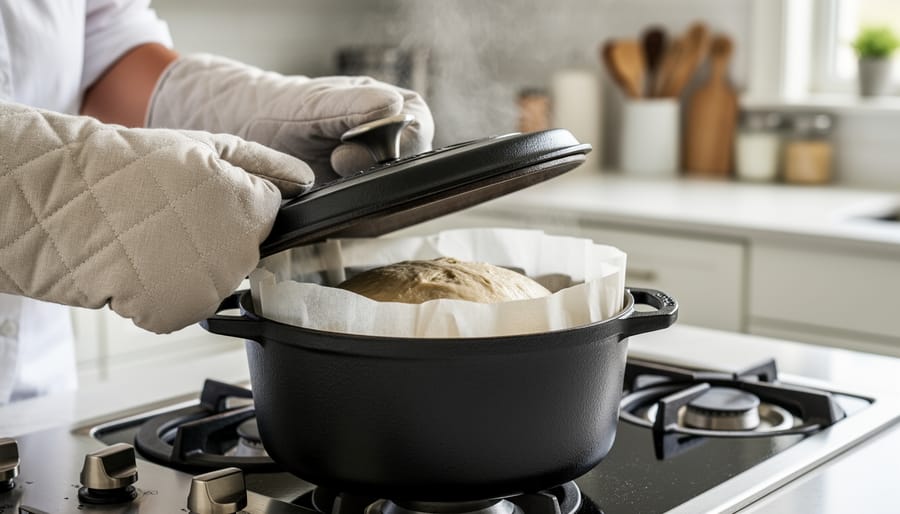
Here’s the secret to that blistered, bakery-style rise: the pot goes into the oven while it heats, empty and sizzling. A cold Dutch oven robs your dough of the sudden burst of heat that makes it spring upward. Give the pot a full preheat so the iron is thoroughly saturated with heat, and it will hold that warmth like a tiny wood-fired oven.
While the oven comes up to temperature, take your proofed loaf and set it on a sheet of parchment paper. Leave a generous overhang on each side, because this becomes your sling. It’s the easiest way to lower the dough without touching the scorching iron, much like the care you’d take with a tray of bubbling lasagna, the kind of Italian comfort food that rewards patience.
Now for scoring. Use a sharp blade or lame and make one confident slash across the top, about half an inch deep, angled slightly. Hesitation tears the dough, so commit with a quick, smooth stroke. That single cut gives the loaf a planned place to burst open, creating the proud, curled “ear” bakers love.
With oven mitts on, lift the loaf by the parchment, lower it in, and close the lid.
Covered, Then Uncovered: Temperatures and Timing
Here’s where the oven does its quiet magic. The lid keeps steam trapped around the loaf for the first part of the bake, then comes off so the crust can turn deep and crackly. Think of it as two acts: rise first, colour second.
At 450°F, a standard 500g loaf bakes covered for 25 to 30 minutes, then uncovered for another 25 to 30 minutes. If you prefer a hotter oven, 475°F works too. Preheat the Dutch oven, start the loaf covered, and finish it uncovered for 20 to 25 minutes. Another common rhythm is simple: 20 minutes with the lid on, then 20 minutes with the lid off, until the inside reaches 205-210°F.
Whichever path you choose, the numbers land in the same neighbourhood. Sourdough typically bakes for around 30 to 45 minutes overall. The first 20 to 25 minutes are the crucial ones, so resist the urge to peek early. The lid generally comes off for the last 10 to 20 minutes.
Every oven has its own personality, though. Some run hot, some cool, and some bake unevenly. Treat these timings as a map rather than a rulebook. When you lift the lid, look at the crust: a pale loaf wants a few more minutes uncovered, while a loaf already turning deep golden may need less. Let colour and that thermometer reading guide you, and you’ll soon know exactly how your oven likes its bread.
How to Tell Your Loaf Is Done (and What to Do Next)
You’ve watched the clock, but a good loaf tells you when it’s ready in a few clear ways. Most bakes land somewhere between 30 and 45 minutes, and the first 20 to 25 are the crucial stretch. Once the lid has been off for the final 10 to 20 minutes, start checking.
Here’s your doneness checklist:
- The crust is a deep golden brown, not pale or blond.
- The bottom sounds hollow when you tap it with your knuckle.
- An instant-read thermometer reads 205-210°F in the center.
- The loaf rests on a cooling rack before you slice it.
Use the thermometer as your tiebreaker. If the crust looks lovely but the reading is still low, pop the loaf back in uncovered for a few more minutes. And while that hollow thump is satisfying, the number never lies.
Then comes the hard part: waiting. Lift the loaf out with oven mitts, set it on a rack, and let it rest so the crumb can set. You’ll hear it crackle as it cools, which is half the fun. Slice too early and the inside turns gummy.
Once it’s ready, serve it the Italian way. Drizzle warm slices with good olive oil, tear a piece to dunk into a bowl of soup, or toast thick rounds for bruschetta piled with ripe local tomatoes. A hearty loaf also makes a lovely table companion, so pair with pizza for a full bread-and-dough feast with friends.
Troubleshooting Common Dutch Oven Sourdough Problems
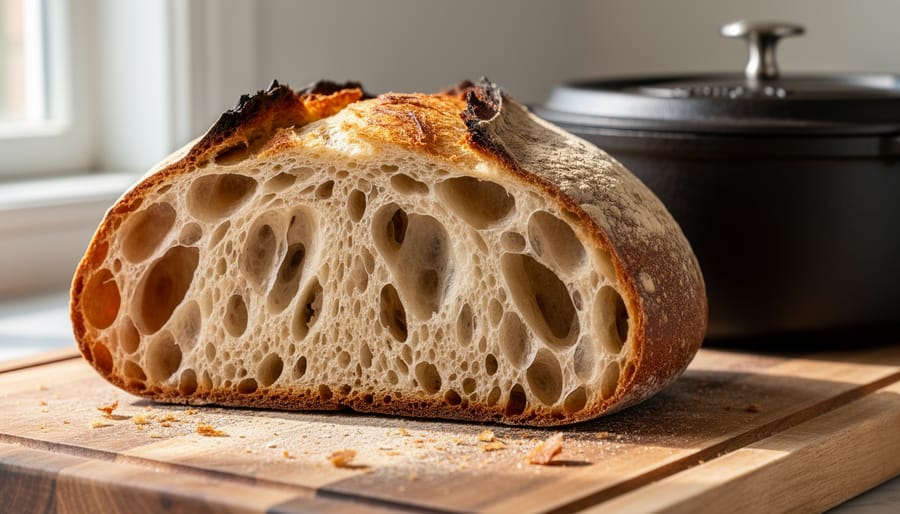
Every baker meets a imperfect loaf now and then, and each one teaches you something about your oven. Here’s how to read the clues.
A pale crust. The crust gets its colour in the uncovered stage, so give it more time. Keep the lid off a few minutes longer, and judge by the deep golden-brown you’re after rather than the clock. If you finished at 450°F, a slightly hotter oven for the uncovered portion can help, since 475°F is a common finishing temperature.
A dark or scorched bottom. The pot sits close to the heat source, so the base can take the brunt of it. Move the rack up a notch, or slide a baking sheet underneath to soften the heat. Pulling the loaf a touch earlier, once it reads 205-210°F inside, also protects it.
A dense crumb. If the bread feels heavy, check that the pot was fully preheated and that the loaf went in covered. That early burst of trapped steam is what lets the dough rise before the crust sets. Remember, the first 20 to 25 minutes are the crucial ones.
A loaf that spread flat. Make sure the dough is well shaped with good surface tension, and score it confidently so it expands upward. Lower it in gently on its parchment sling.
Ovens differ, so treat these as friendly nudges, not rules.
Dutch Oven Sourdough FAQs
Do I need to preheat the Dutch oven?
Yes. Put the pot in the oven while it heats so the cast iron is blazing hot when your dough goes in. That burst of heat is what gives the loaf its big, confident rise.
How long do I bake sourdough in a Dutch oven?
Most loaves take around 30 to 45 minutes in total. For a standard 500g loaf at 450°F, that can stretch to 25-30 minutes covered plus another 25-30 uncovered, so go by colour and temperature rather than the clock alone.
When should I take the lid off?
The first 20 to 25 minutes are the crucial ones, and the lid generally comes off for the last 10 to 20 minutes. A simple rhythm many bakers love is 20 minutes lid on, then 20 minutes lid off.
What internal temperature means sourdough is done?
Aim for 205-210°F in the centre of the loaf. Pair that with a deep golden crust and a hollow sound when you tap the bottom.
Can I bake at 475°F instead of 450°F?
You can. With the 475°F approach, preheat the Dutch oven, start the loaf covered, then finish uncovered for 20-25 minutes. Ovens run differently, so watch the crust and check the inside temperature.
Still have a question about your own pot or oven? Trust your senses as much as the numbers: the smell of toasting crust and the sound of a crackling loaf will tell you plenty.
A loaf pulled from the Dutch oven is a small celebration of patience and tradition. You preheat the pot, score the dough, bake it covered so the steam builds that blistered crust, then lift the lid and let it finish until the inside reads 205-210°F. That’s the whole rhythm, and once you’ve felt it, you’ll want to repeat it every weekend.
Don’t let the bread sit pretty on the rack for too long, though. Bring it to the table, let everyone tear off a warm piece, and pass the olive oil. That’s how bread is meant to be enjoyed in Italy, shared, messy, and gone in minutes.
If this loaf has you craving more of that warmth, keep exploring authentic flavours with The Italian Experience Vancouver. And when you’d rather sit down and let someone else do the cooking, an Italian restaurant with a proper bread basket is always worth the trip. Buon appetito!